
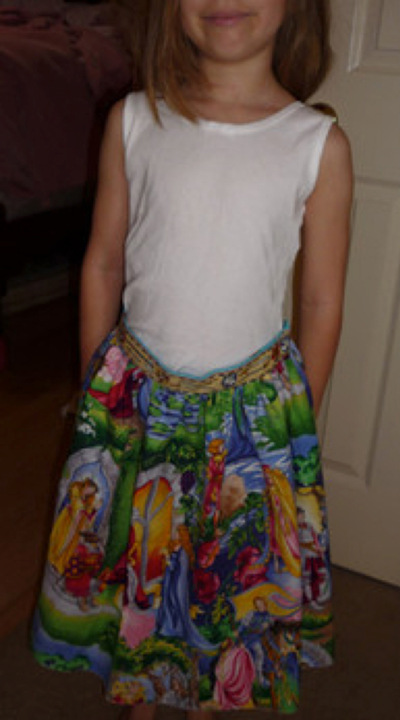
Time again to prove that you don’t need a pattern. This is a really easy, and very versatile project: The gathered, or dirndl, skirt. You can do this in a hour. Really. This is perfect for little girls. It’s fast, and they will love the results! I knew one petite mother that needed to shorten all of her pants. She used the part she cut off to make skirts for her 2-year-old. Look! Instant mother/daughter outfits, and it’s already hemmed!
Start by taking the hip measurement at the widest point (or belly, for a child). To avoid any fitting issues, and for a more flattering fit, you want multiply this number by at least 1.5. This gives you the amount of fabric you need to go around the hips with some ease. For most fabrics, you can go as far as about three times the hip measurement before it gets awkward fitting in all the gathers to the waistband.
Decide how long you want the skirt. And add seam allowance for top seam and hem. It’s always nice to have an ample hem. The added weight makes the fabric hang nicely with a professional look. Since this is a “square” skirt, with no curve to manage at the hem, you can easily make a two-inch hem if you have the available fabric. This is a very high end finish.
Whatever your choice, add the skirt length, plus hem amount, plus a half inch for the waistline seam. As a point of reference, mini skirts for adults are generally 18″ from the waist. A half inch seam is plenty. The whole five-eighths seam allowance thing that commercial patterns use is really pretty arbitrary. You will most likely need to clip away that extra 1/8 (or more) inch at the waist anyway, so just don’t bother putting it in the first place.
Now you have your main pattern piece. The width around the body (hips, or for a child, the belly x 1.5 or more), by skirt length, plus seam and hem allowance. To avoid making seams—which is always a plan of mine—you can choose to run the length of the fabric horizontally around the skirt. That way you will also have a nice finished selvage edge available for your hem and you will need only one seam in back. Some fabrics do not lend themselves to being used in this way, due to nap or pattern, but on the whole, it’s a great way to go. There is no reason to cut square pieces just to sew them together again, unless you are a quilter. This is a simple skirt where it does not matter if the grain is on the cross or on the straight. If you need to run the pattern along the length of the goods, allow for a half-inch seam allowance at each seam you put in. Go ahead and cut the skirt, and assemble any pieces.
Next we address the finish of the waistband. You can do a ton of things here, from straight elastic, to no elastic and a zipper, to the happy medium of elastic in the back and flat in the front. If you have a really full skirt, I’d opt for the flat waistband—at least in the front—as there is a limit to how much fullness you can smash onto elastic and not end up looking like a potato sack.
Take your waist measurement and add one inch for seams (half inch each side) plus one inch overlap for your closure. Decide how wide (tall) you want the waistband to be. I find that an inch can verge on being too small but once you pass 2.5 inches, you begin to need a curved waistband. Pick a waistband width, double it, and then add an inch for seam allowances (that’s a half inch each). I tend to like an inch and a half.
Now, here’s my trick. I am a lazy sewer, and I try to minimize my workload at all times. To that end, I include my interfacing in-one with my fashion fabric. It’s easy, and you will never go back to the old way again. To do this, pick your waistband width, and add a half-inch seam. Then, add twice the waistband width. This gives you: Waistband width, plus half-inch seam, plus 2x waistband width. You will flip up the entire third width on the inside of the skirt, as a large “seam allowance”. Since it goes right to the top of the waistband, it’s also your interfacing. Yeah!
Sample “cheat” waistband.
Install your zipper in the body of the skirt, according to the zipper package. Sew the end seams on the waistband, using my waistband cheat, or being sure to include separate interfacing.
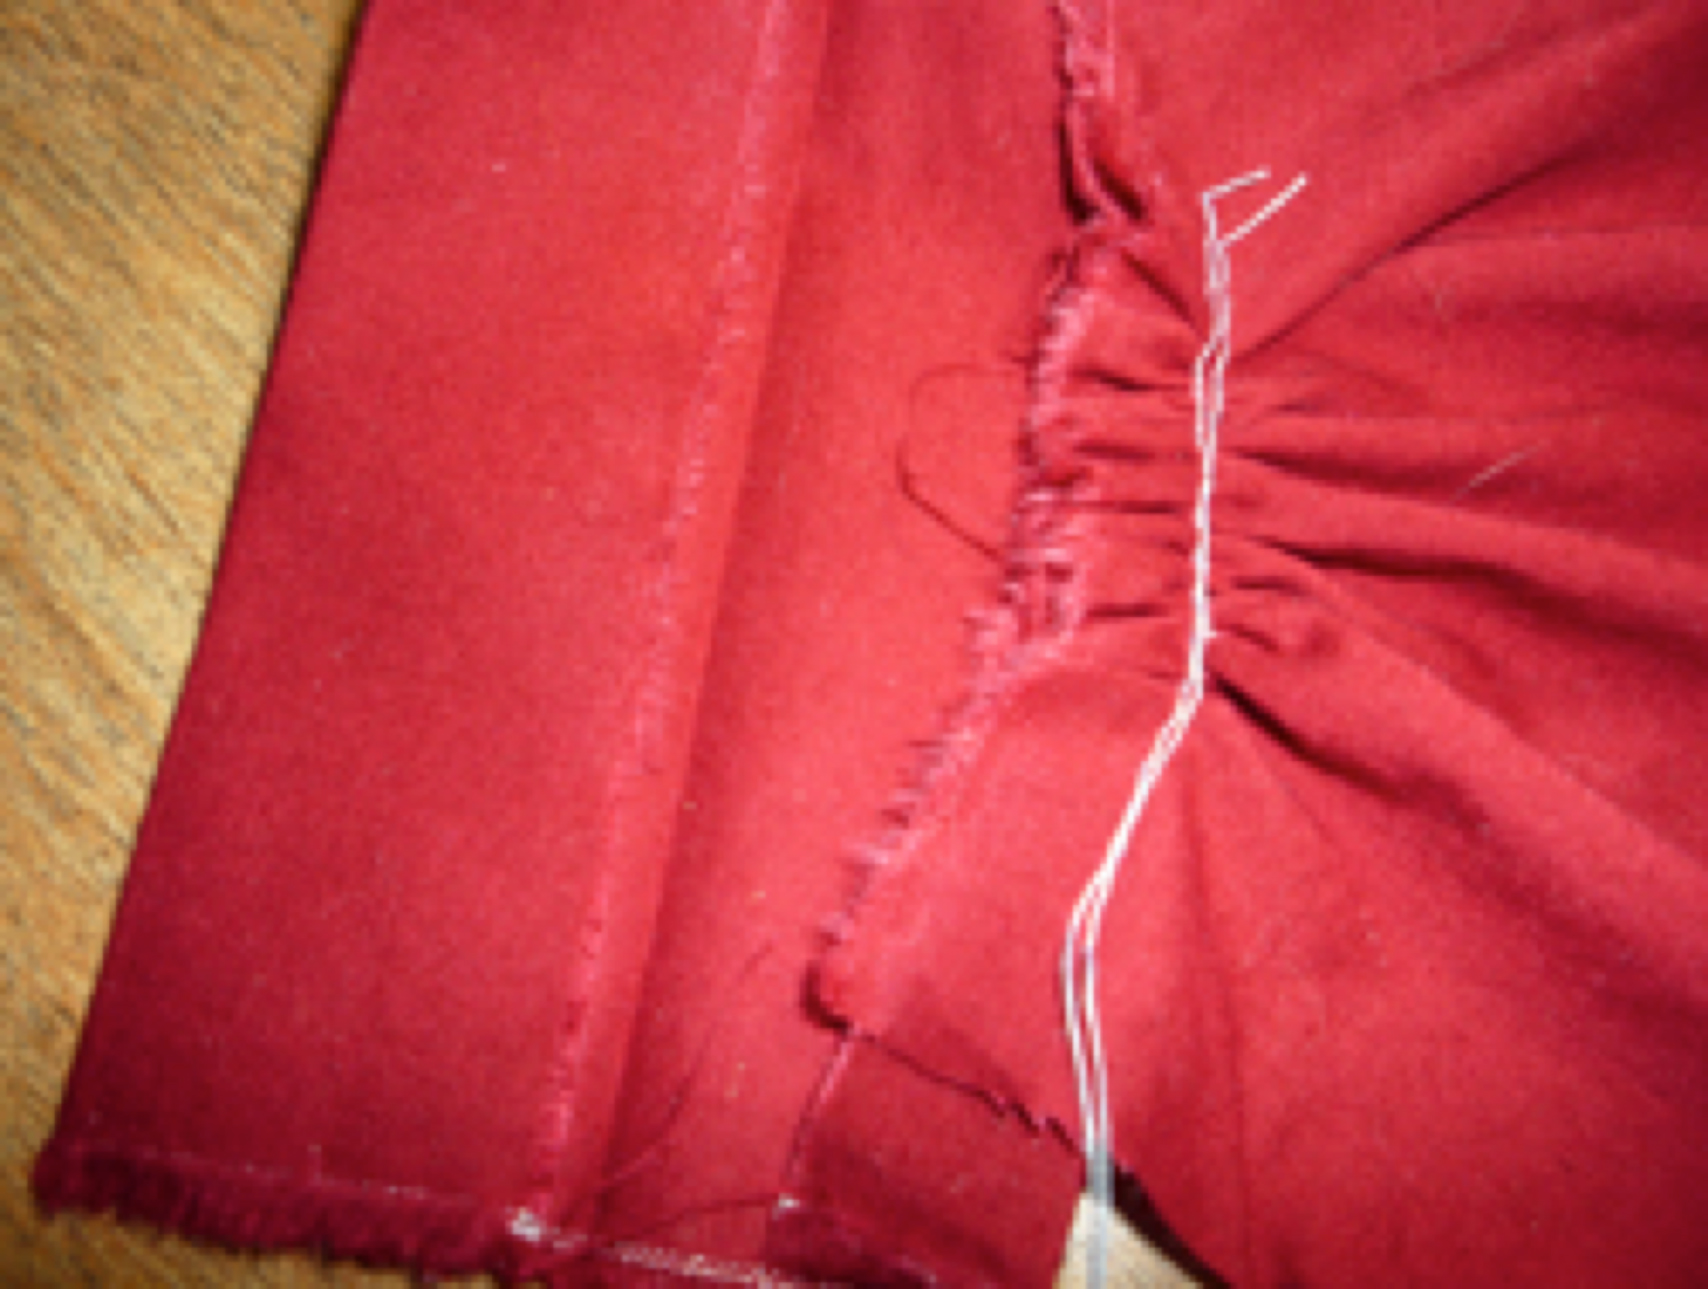
Gather the body of the skirt to get it ready to pin to the waistband. You can use regular gathers, make pleats, use a gathering foot, or even a smocking pleater. Whatever you like best. I like to mark the center front and sides of the waistband and skirt body before I gather, and make my marks match up as I pin my gathers. A fun and flattering thing to try, is to put more of the gathers in the back, than in the front. Try this on your second skirt, so you get the hang of it first.
Sew the ends of the waistband, right side together. Clip the corners and turn. Pin the skirt body to the waistband raw edge, making sure to leave the closure lap free. Stitch skirt body to the waistband. Flip the interfacing side, press and hand stitch the inside edge of the waistband, Add a button or hook. Voila. A skirt! You wear it well!
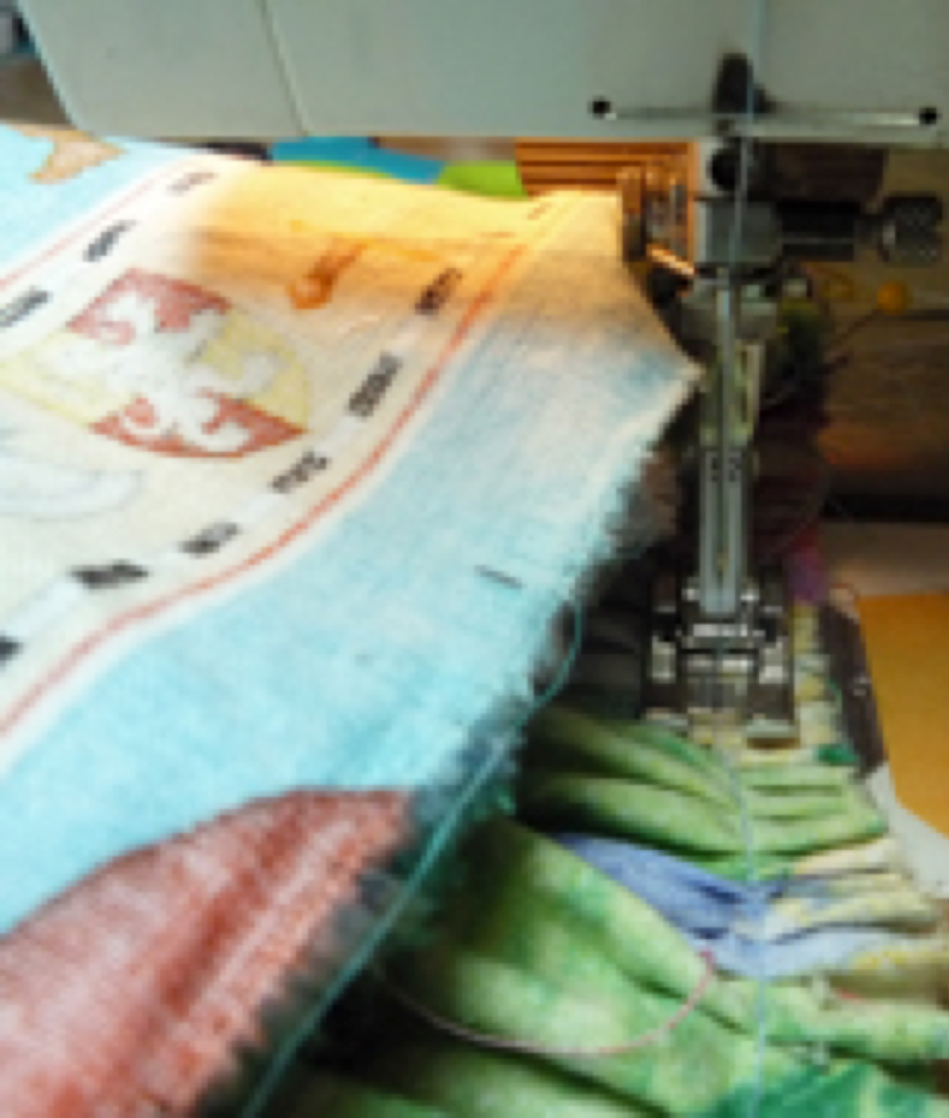 Stitching the body of the skirt to the waistband. I have used a ruffler to make my gathers. You can see that previous stitching line.